Wednesday, March 20, 2013

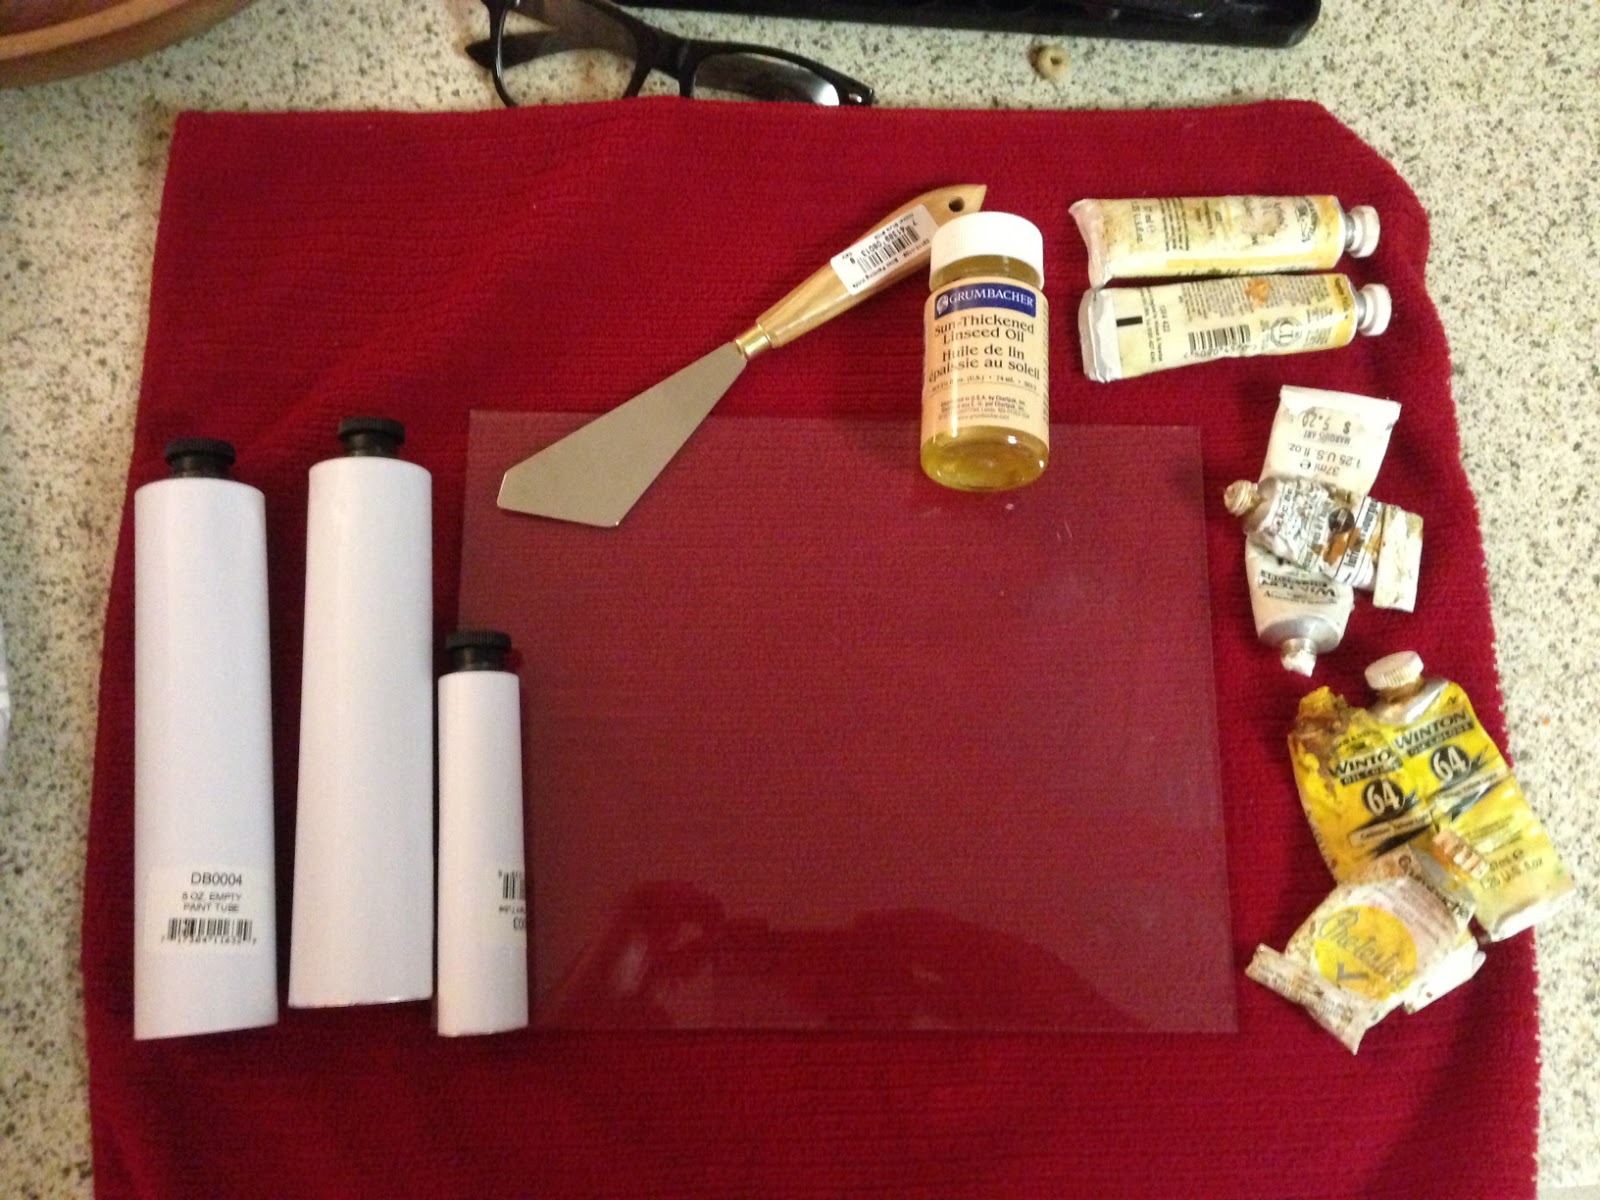
Preparing to Paint: How to Revitalize Old Oil Paints

Over the years, I've accumulated several tubes of various oil paints, many of the the same color of paint So in preparation for a painting commission I thought I'd consolidate and show you how to breath some life into old paints.  There are certain paints like Naples Yellow that have always been too firm for my taste and there are others I have that have just leached out their linseed oil.  Mind you, this isn't hard, chunky or starting to cure (there's no saving that stuff).  This is old paint that's lost it's pizzaz.  Admittedly I could just buy some new tubes for $5-$15, but these empty aluminum tubes are only $1.50, linseed oil is only $5 and I wanted to see if this worked.
Sart by cutting open old tubes and dumping the contents out
add a drop and keep adding drops of linseed oil until you get the desired consistency.  If you have additional pigment, this is the time to add it.

 Scrape into tube and hit the cap in he table until the paint goes to the head of the tube.


Starting near the cap start pinching the tube to eliminate air and pinch tightly on the bottom.  Cut the aluminum to length and roll the bottom. 
Flip them over and hit the bottoms of the tubes on the counter until the air pockets rise to the opening of the tube and squeeze most of the air out leaving a small pocket at the top of the tube.

For this painting I decided to use a blank puzzle from work.  The wood isn't treated so it's prime for gesso.
gob of gesso.  Spread it vertically.  Dry. Sand. Vertical. Dry. Sand. Repeat.

tadaa


Next week: Landscaping


Monday, March 11, 2013

From IKEA With Love: Finale


So here it is.  The finished Valentine's shelf.  It is one of those small things that really relieves a nerve in the back of your mind that you never knew was being stepped on.  You'll note that Maya has her own shel and I measured the heights of all of our highest boots and made the shelves that high.  I swear next week we are back to art.  This was just one of those projects I wanted to show off.  See you next week!


Tuesday, March 5, 2013

From IKEA with Love

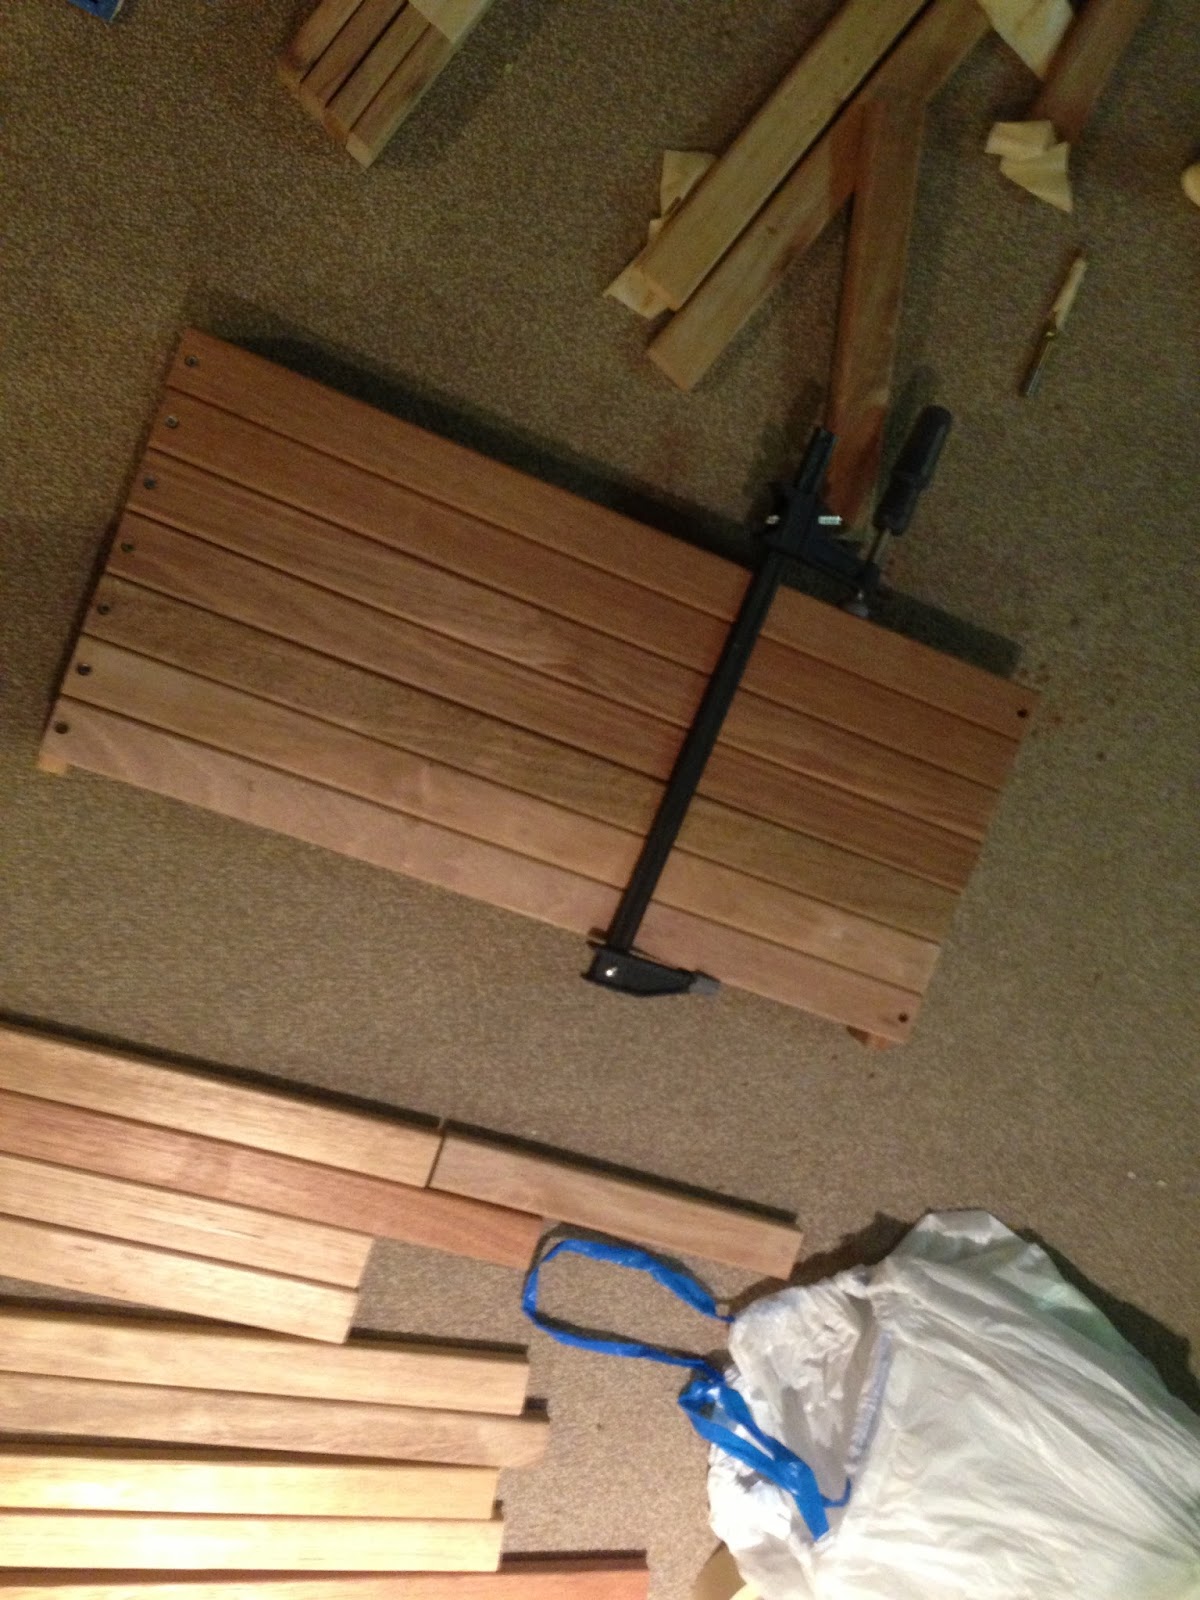
This week I'm writing about some side projects that I have neglected to talk about for the past month or so.  I mentioned Toy Fair last time and no, Maya wasn't allowed IN to the event (poor kid) she was relegated to the front section.  She was pretty happy to get balloons and stuff though. I found some ikea bed slats in the trash area of our building that I am converting into a shoe rack for the front of the house for Valentines Day for Christina.  I counted out the number of slats and did a rough drawing and I have started cutting.

Figured out the measurements and so on

Here are the slats as they come.  Stapled together with nylon straps.  Tearing out the staples was by far the most labor intensive part of the build.

Construction of the top part of the rack

I worked on this slowly over a month so, so I kept the various pieces hidden and organized by letters.  Please ignore the Cinderella Blu Ray.  I will post the finished piece next week and hopefully have some art to show as well.

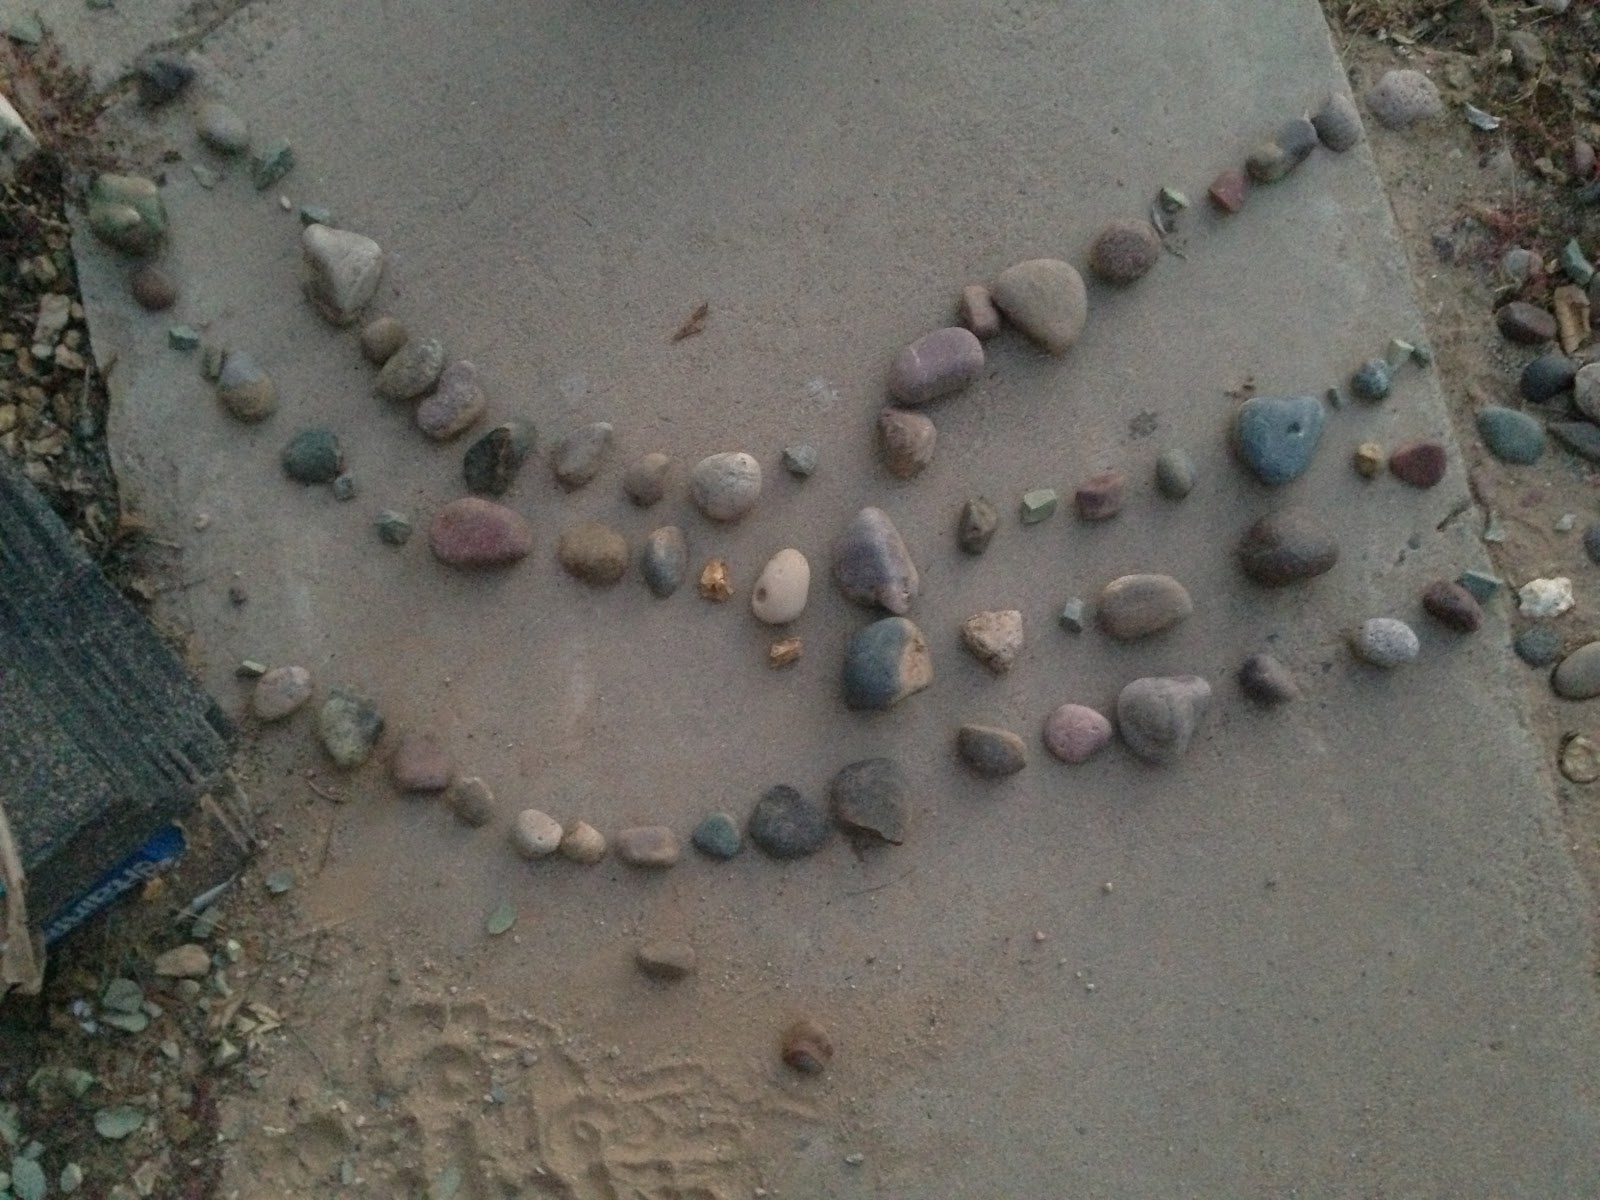
in Arizona Maya made some art of her own.  She insisted on taking her own pictures.

Top view


Hello Pancake for Valentines day


Tuesday, February 26, 2013

Casting a Tongue in Silicone


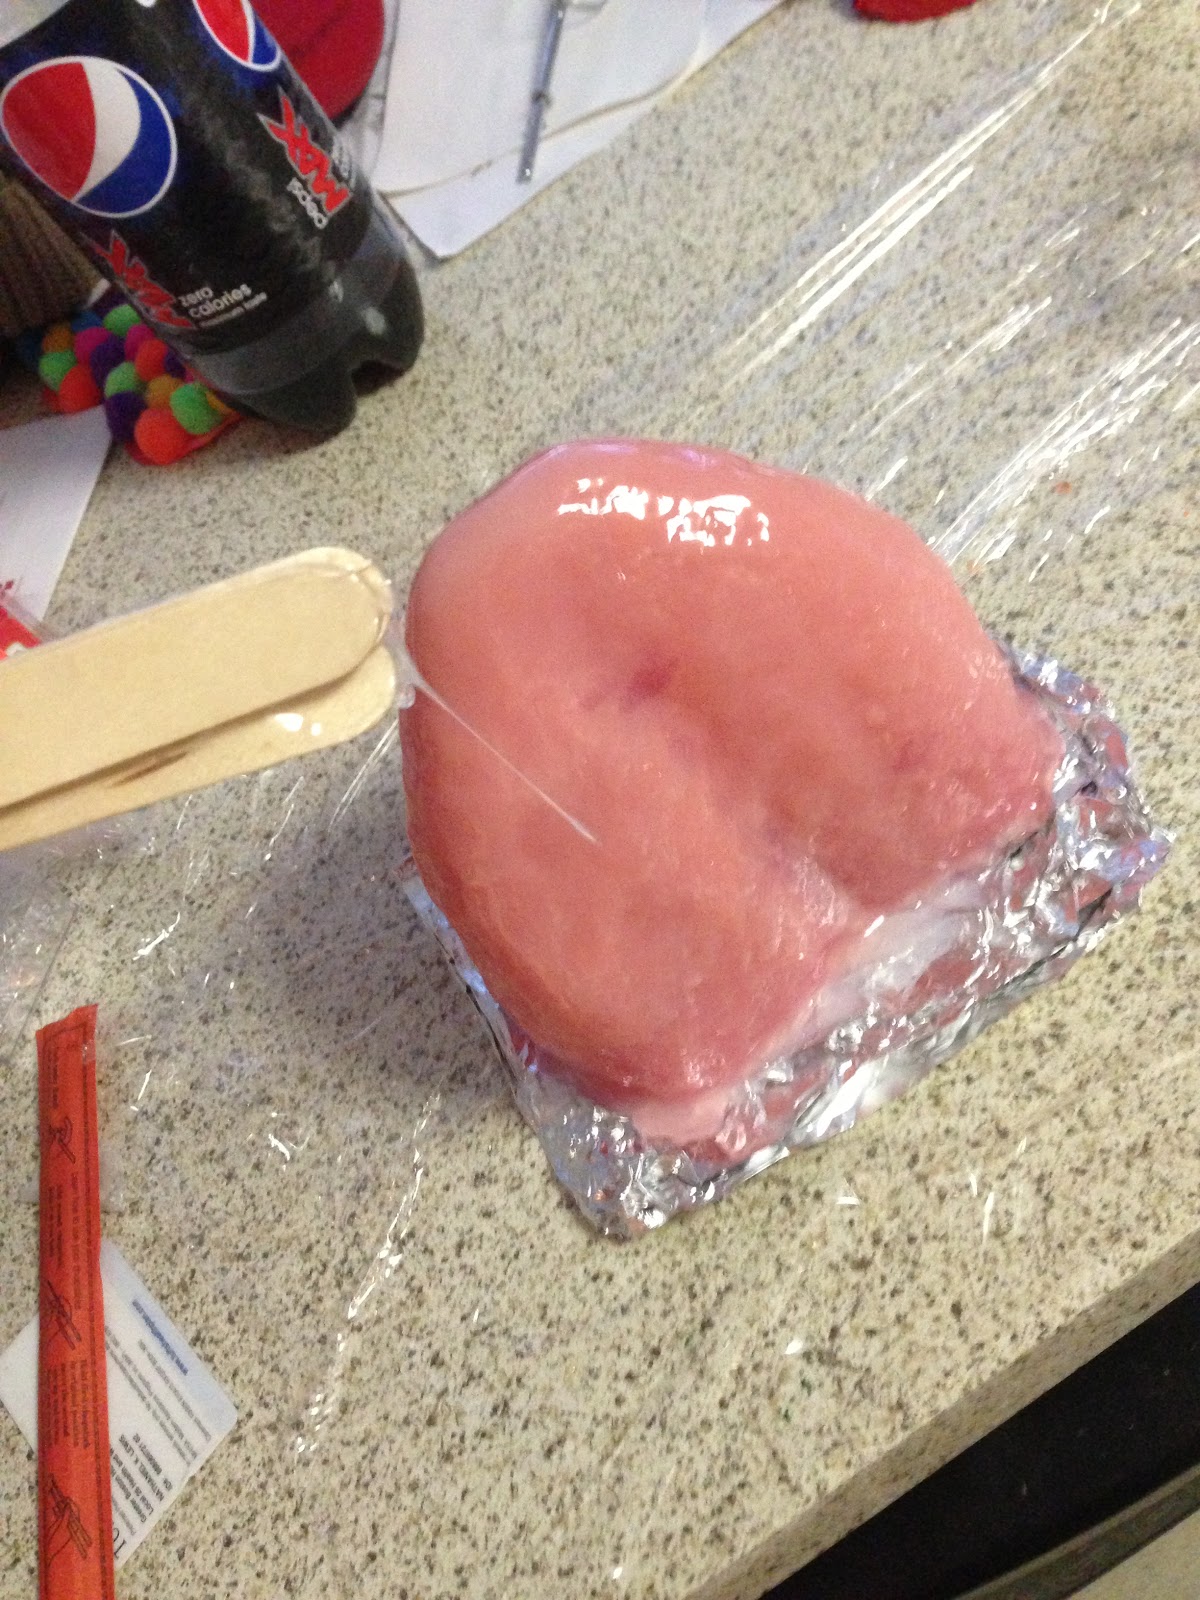
I was busy at Toy Fare last week, so sorry for the brief break.  This week I am casting a tongue in my plaster mold.  No release agent necessary, silicone really only likes to stick to itself and very porous surfaces.  Rather than store bought pigments, I usually use oil paints.  It doesn't take much, just a dot or two and I can usually mix the exact color I want (do not use water-based oils).  I mix it into the the thicker half of the silicone mixture first and then use it ass a gauge of how well my silicone is mixed.  I use a Smooth-On brand Dragon Skin silicone.  It sets in about 15 minutes (that's a lot of slushing the mold around).
I add a second layer with a much richer red that will show through the translucent first layer.

 Then I back it with a final stabilizing layer.  Once the thin stuff has set, I know it's ready to demold.

::pop::

Ta-Daaahh.

Adding a think coat of clear for god measure and good sliminess.

Tuesday, February 5, 2013

Stealing For A Cause


As you may or may not know, much of my work is not something people would like to have in their home.  I was asked to do a painting for an auction benefit for Kris Woodyard.  She's an old friend of Christina's who is fighting cancer and a great lady with two kids.  IF you would like to own this painting, the auction is at the Palm valley Golf Club, Sunday Feb 10.  Here is the facebook page.  I decided a painting was my best bet.   I looked up "Funny still life" online and I came across the great photographs of Terry Border
terryborder02.jpg

Thinking along these lines, I made a little composition of my own and did an alla prima painting one a piece of wood last night.  I wanted to be sure to acknowledge him for the inspiration.  I worked so fast, I forgot to take process pictures.  It's been a long time since I have done a still life, and probably the first still life I've done in acrylic.  I was also on the fence as to whether I was going to post about this, but I figured I should post about it to promote the auction.    I don't know why he's looking at the personals, but he seems a little lonely.
Next week: back to the tongue

Tuesday, January 29, 2013

How to Make a Mold for Silicone Casting

 So, many of you remember from last week that I did a pretty cool tongue sculpture out of oil clay.  Since it's a simple form and I am going to be casting it out of silicone,  I have elected to make a plaster mold.  Silicone doesn't really like to stick to much of anything but itself, so plaster is a good cheap molding option.  you can see here I started with a detail coat.
I quickly build a cardboard wall and seal the bottom and side with hot glue.  (Plaster sticks to lots of things, but it doesn't seem to like cardboard)

s
I fill it up the rest of the way with plaster.  You don't want to have too much time between layers because plaster expands and contracts at different rates.  If you wait too long you will get strata in your mold and the different layers won't chemically bond.  It would make the mold more delicate and prone to cracking.  If you have more than a few minutes between layers of plaster be sure to wet the mold with water before applying the next layer.
Now that it set up I flip the mold over

Because of the shape, the foam core of the sculpture pops out so easily.

::pop::

The mold was still warm from curing, so the clay cam out without a hitch.

And here's the mold!

Next week: how to cast in silicone


Tuesday, January 22, 2013

SO You Want to Sculpt a SIlicone Tongue?


So, I took a month off from blogging for the holidays.  Apologies to the loyal readers who have been checking in.  I have, however, been working.  I am trying to work my body down to being only 50% Christmas cookie.  As you can see above, I got a pretty sweet phone case for my iphone.  I sent one of my new pictures off to Uncommon.com.  The print is a little dark and a little undersaturated, but still very nice.
As far as the masks go, I've decided to go a different route with the tongue and I am going to cast it out of silicone.  So first, I must sculpt it!


Checking for size

Alabaster foam

Rough cut with a utility knife

Coat of clay

Laying plastic wrap down I can use my pore stippler without gouging the clay

I made this tool out of super sculpey.  I made rounded stamp with pock marks in it so when I press it into clay it leaves bumps rather than holes.

Stamp stamp stamp

Lookin good.

use my embossing gun to smooth the clay without burning it.  Best investment ever.  Bought it over 8 years ago.  It looks like a glittery purple dildo, but  it can blast our over 200 degrees in a matter of seconds.  Works really well on oil clay and for baking thin layers of Sculpey.

Next week: Molding the Tongue for silicone casting!