Wednesday, March 20, 2013

Preparing to Paint: How to Revitalize Old Oil Paints

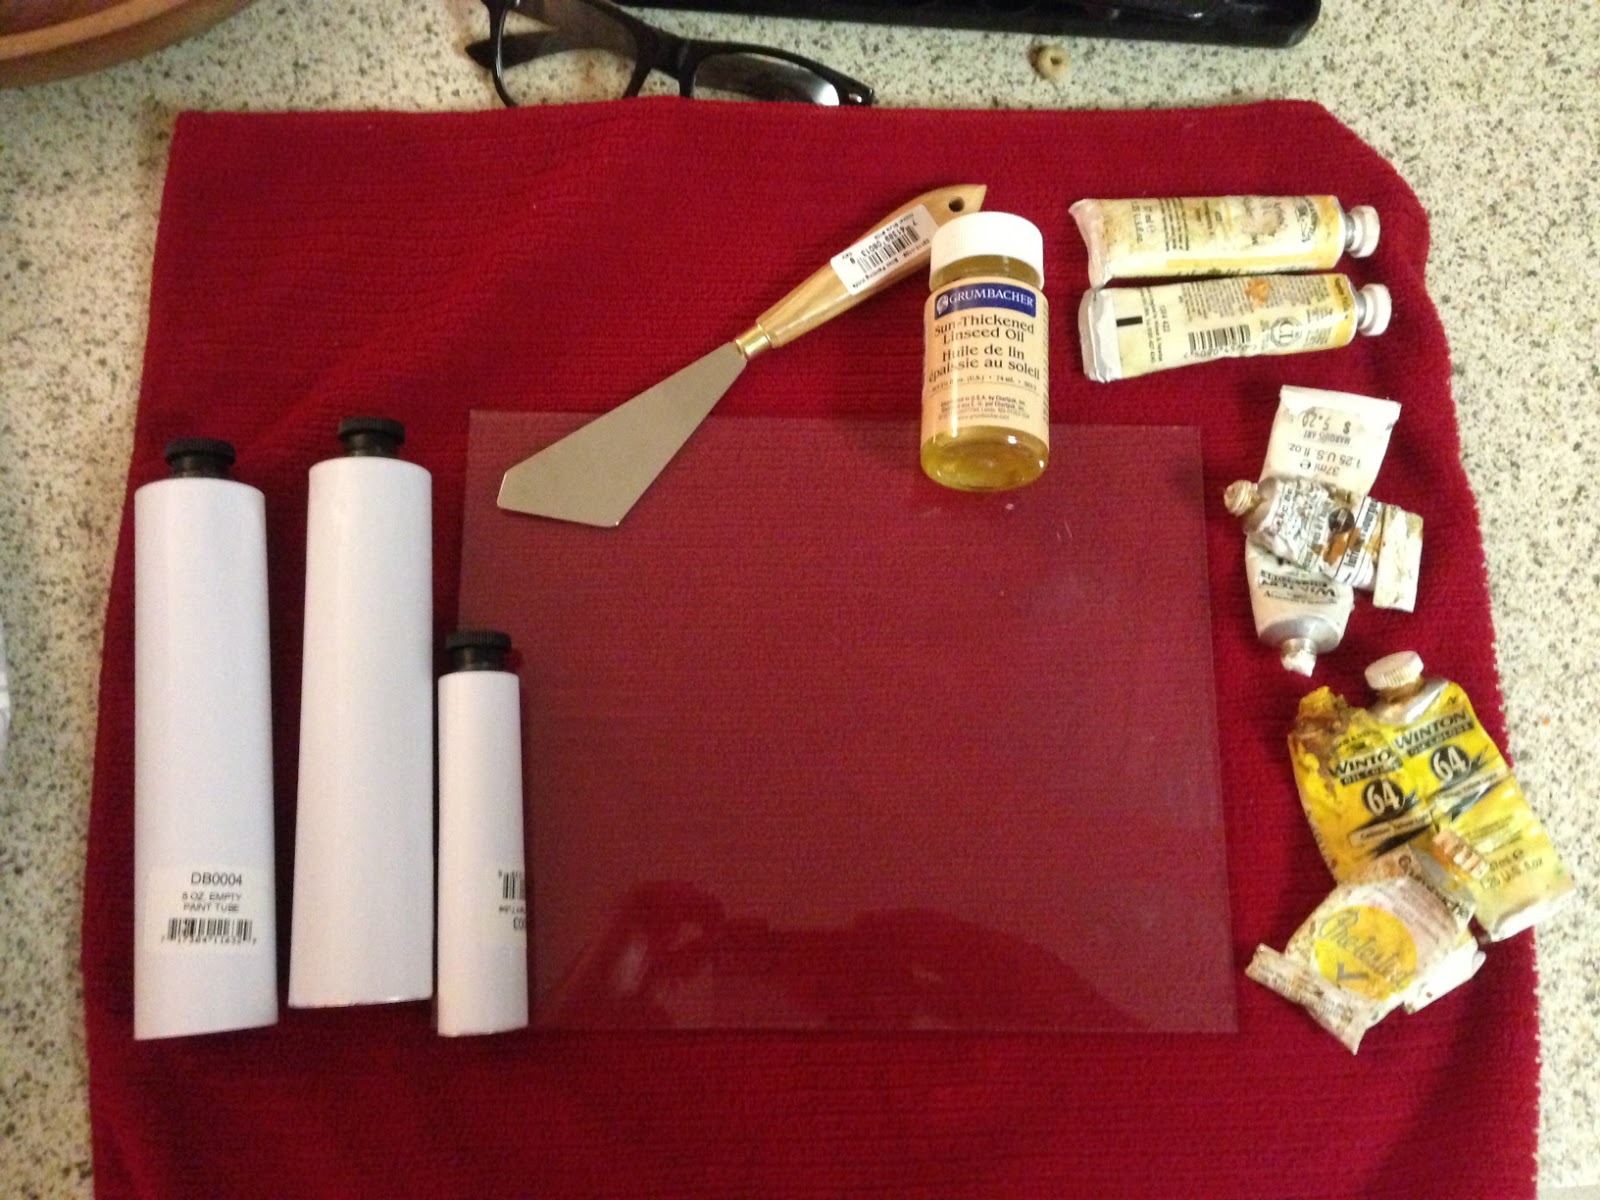
Over the years, I've accumulated several tubes of various oil paints, many of the the same color of paint So in preparation for a painting commission I thought I'd consolidate and show you how to breath some life into old paints.  There are certain paints like Naples Yellow that have always been too firm for my taste and there are others I have that have just leached out their linseed oil.  Mind you, this isn't hard, chunky or starting to cure (there's no saving that stuff).  This is old paint that's lost it's pizzaz.  Admittedly I could just buy some new tubes for $5-$15, but these empty aluminum tubes are only $1.50, linseed oil is only $5 and I wanted to see if this worked.
Sart by cutting open old tubes and dumping the contents out
add a drop and keep adding drops of linseed oil until you get the desired consistency.  If you have additional pigment, this is the time to add it.

 Scrape into tube and hit the cap in he table until the paint goes to the head of the tube.


Starting near the cap start pinching the tube to eliminate air and pinch tightly on the bottom.  Cut the aluminum to length and roll the bottom. 
Flip them over and hit the bottoms of the tubes on the counter until the air pockets rise to the opening of the tube and squeeze most of the air out leaving a small pocket at the top of the tube.

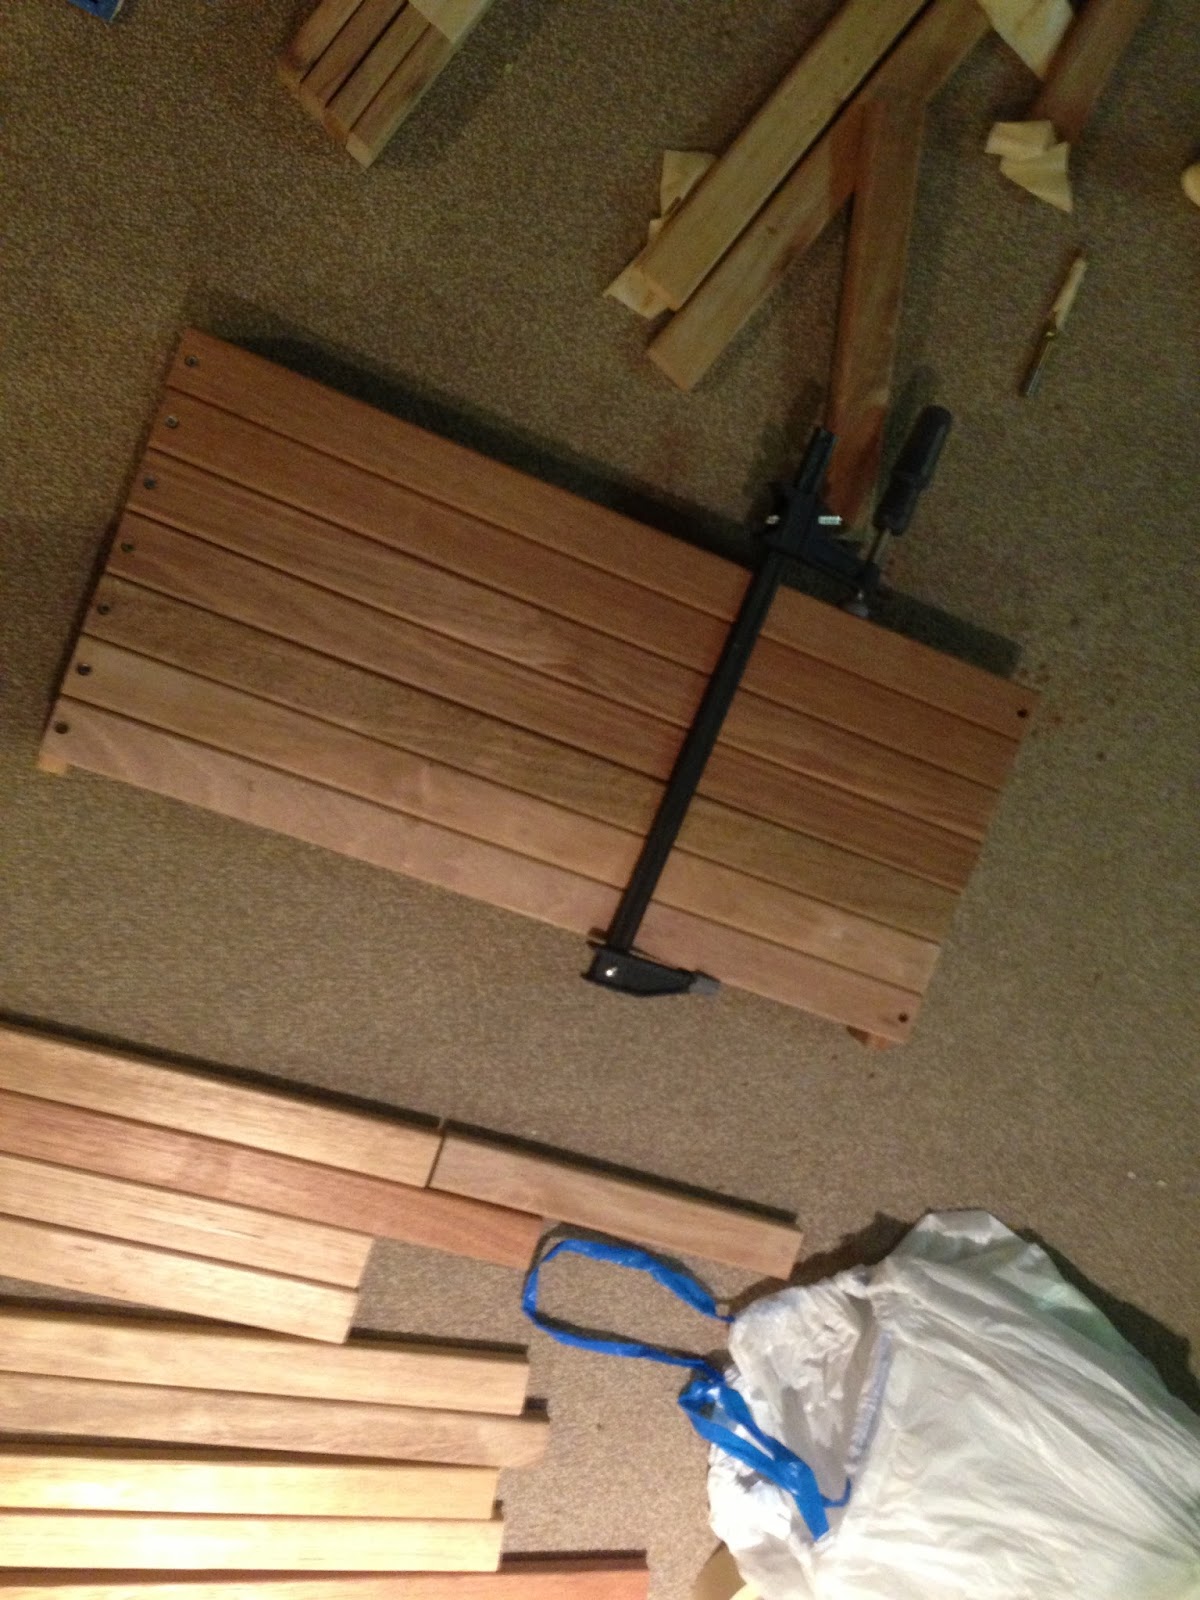
For this painting I decided to use a blank puzzle from work.  The wood isn't treated so it's prime for gesso.
gob of gesso.  Spread it vertically.  Dry. Sand. Vertical. Dry. Sand. Repeat.

tadaa


Next week: Landscaping


Monday, March 11, 2013

From IKEA With Love: Finale


So here it is.  The finished Valentine's shelf.  It is one of those small things that really relieves a nerve in the back of your mind that you never knew was being stepped on.  You'll note that Maya has her own shel and I measured the heights of all of our highest boots and made the shelves that high.  I swear next week we are back to art.  This was just one of those projects I wanted to show off.  See you next week!


Tuesday, March 5, 2013

From IKEA with Love

This week I'm writing about some side projects that I have neglected to talk about for the past month or so.  I mentioned Toy Fair last time and no, Maya wasn't allowed IN to the event (poor kid) she was relegated to the front section.  She was pretty happy to get balloons and stuff though. I found some ikea bed slats in the trash area of our building that I am converting into a shoe rack for the front of the house for Valentines Day for Christina.  I counted out the number of slats and did a rough drawing and I have started cutting.

Figured out the measurements and so on

Here are the slats as they come.  Stapled together with nylon straps.  Tearing out the staples was by far the most labor intensive part of the build.

Construction of the top part of the rack

I worked on this slowly over a month so, so I kept the various pieces hidden and organized by letters.  Please ignore the Cinderella Blu Ray.  I will post the finished piece next week and hopefully have some art to show as well.

in Arizona Maya made some art of her own.  She insisted on taking her own pictures.

Top view


Hello Pancake for Valentines day